
There probably wasn’t much thought put into your binding angles when you used your first snowboard. The staff who set up the board likely set the bindings according to their experience with newcomers in the past. It’s simple enough that anyone can get started with basic bindings. However, as you feel the need to improve and have more fun you will likely want to modify your bindings to suit your preferred style. This often involves a lot of trial and error.
There’s no single method that everyone should use when binding their boards. It’s all about what feels right to you. What gives you the most control of the board? Where do you feel most comfortable? What makes your experience more fun? These are all factors that you will want to consider as you experiment with various binding angles and stances.
Some people even choose to keep detailed logs of the various stances that they use. They might track data such as the stance width, the front, and rear binding angles, the distance between certain points, and anything else relative to the stance. They then record information about their experience with that particular stance. This allows them to experiment with countless stances and angles while always having the ability to return to the stances that they liked the most.
Out of the many different possible combinations, there are a few categories of very common stances. These tend to correspond to very specific binding angles. You can use these categories as starting points for your own customization.
What Exactly Is A Binding Stance Angle?
If you’re completely new to snowboarding, then you may have no idea what a stance angle is. It’s not exactly something they go over with you when you’re renting your first board. It’s an important factor nonetheless.
The stance angle specifically refers to the angle of your feet when placed on the board. Think of your heels against the back edge of the board as the pivot point for the angle. If your toes are facing towards the nose of the board, then they are at a positive angle. If they are facing towards the tail, then there is a negative angle. If your toes are in a completely straight line facing the opposite edge of the board, then the angle is zero degrees.
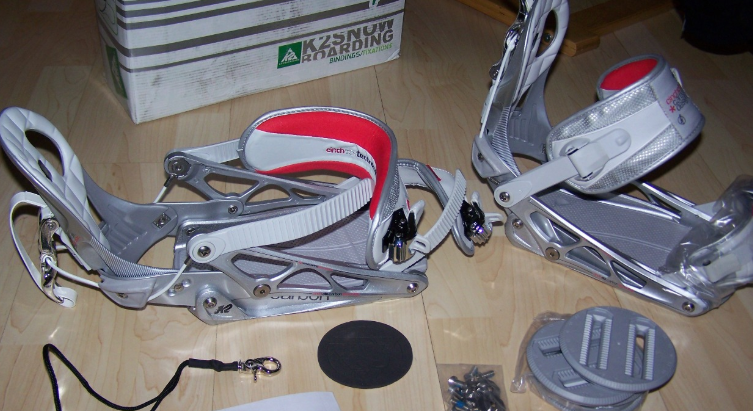
You don’t need to use a protractor to determine what angle you are on. The binding plates that are used to hold the board and binding together have angle markers set into them. Most of them will adjust in increments of 3 degrees. For most people, the leading foot has an angle somewhere between +12 and +27 and the back foot has an angle between +3 and -15. Of course, this can vary greatly for some people.
What Angle To Begin With?
As a beginner, you’ll need to choose an angle to start with and then adjust it as you see fit. Many different people have their opinions as to which angles are best to use for beginners. This may be because they all started with different angles themselves. That being said, most people can agree that beginner angles should make it very easy to ride in a single direction while offering increased stability and easy turning. This would mean your front binding should be between +12 and +15 with a back binding between 0 and +3.
The only problem you might encounter with this stance is learning whether you use a goofy or regular stance. Some people suggest a duck stance while you are discovering this. However, it would be much better to determine if you were goofy or regular prior to setting your binding angles. It is fairly easy to figure out and if you have any experience skateboarding or surfing, then you should already know.
Other Binding Angles
It’s very likely that the rental staff used the beginner binding angles above when you rented your first snowboard. It’s a great place to start and a few minor adjustments can allow for a great deal of flexibility. For example, by increasing the positive angle on both bindings you can adopt a free-rider forward stance. Free-rider angles typically range between +18 to +24 in the front and +6 to +9 in the back.
What if you want to experiment with a freestyle stance? Most freestylers angle their board so that they can travel in either direction with ease. This will require some negative angle on the back binding. Most of these stances are referred to as either mirrored duck stances or slight duck stances.
A mirrored duck stance happens when the front and back angles are the same but in opposite directions. A +15 in the front with a -15 in the back is a very popular example. Those can be increased or decreased slightly, but any changes to one must be mirrored on the other.
If the back binding is at a negative angle and the front foot is at a positive angle but the angles are not the same, then it is referred to as a slight duck stance. These are actually some of the most common binding angle stances. Not only are they very common among freestylers, but even beginners and all-mountaineers use variations of the slight duck stance.
Finding Your Perfect Stance
One of the great thing about binding angles is that they are easy to adjust and experiment with. If you don’t like how a certain stance feels, then you can make some changes and see what happens. You’ll eventually discover your favorite angles for a variety of different situations.
If you liked the article, please leave your feedback.