Table of Contents
How To Pull A Wheelie
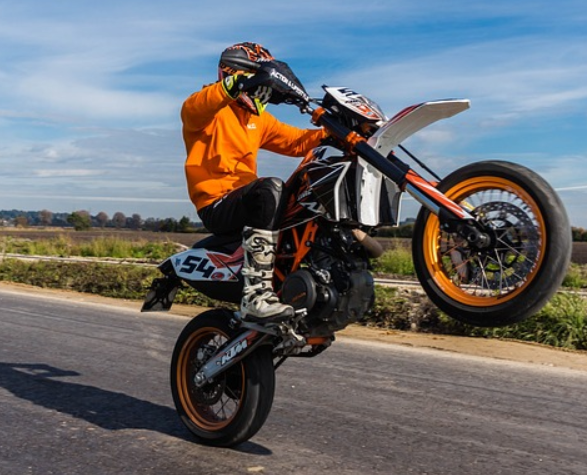
Wheelies are one of the first tricks that everyone wants to learn on their bikes. It might seem like something reserved for the best of the best, but this guide is intended to help you start doing wheelies today! With a few tips and some general knowledge, you’ll be on your way to being an expert in no time.
Before we get into it, you should follow a few safety procedures to prevent unwanted injuries or falls. For starters, always wear a helmet and other protective gear to keep yourself out of harm’s way. Also, check and make sure that everything on your bicycle is up to date and in good shape. The last thing you’d want is a broken chain in the middle of a wheelie! Now, let’s break down one of our favorite tricks; The Wheelie.
Step 1: Setting Up a Wheelie
As with any bike trick, the setup is always the most important step. Without good technique, you won’t be doing much of a wheelie at all. The best you might do is a two- second wheelie, which is fun but not what you’re going for here. Follow our beginner setup for optimal results and longer trick times!
To prepare for a wheelie you should start by getting a little bit of momentum, but not too much. Going too fast can result in a shorter time, which nobody wants. You’ll eventually be able to start doing a wheelie within a second or so of accelerating, but for now, try to focus on a moderate to light pace.
Next, begin to lean forward towards your handlebars. This will help you gain some speed, but it’s mostly to let you rock your bicycle into a wheelie. The biggest mistake that beginners make is that they just try to lean back immediately. Rock the bicycle by leaning forward then lean back. Otherwise, you’ll just fall right off the seat!
Step 2: Starting the Trick
Once you’re starting the wheelie, you want to make sure that you’re keeping the same pace as before. Another huge mistake that people seem to make is that they start to slow down when they’ve finally leaned back. Slowing down won’t accomplish anything but a shorter wheelie. Instead, you want to keep up the same pace or pedal slightly faster.
This leads up to the next tip: Push down on the pedals when you’re in the middle of the trick. You’ll notice that it lets you keep the balance easier. From start to finish, the wheelie requires a low center of gravity. A lowered seat pushed pedals, and sitting on the edge of the bike saddle will all improve your control.
Keep your arms stretched out to maintain balance. Your arms are the biggest controlling aspect of doing a wheelie. Pulling them in too much can slowly make you fall backward, so push them out as if you were trying to keep the handlebars away from your chest.
Step 3: Maintaining the Wheelie as Long as You Want!
Now that you’re comfortable with preparing and pulling off the exciting stunt, it’s time to work on longevity. After all, what’s a wheelie without keeping it going on for a while? Most of the tips from the previous step will result in a longer wheelie, so try to master every last detail before you worry about being the best around.
In order to keep the wheelie going for long periods of time, you should focus on the two points of balance. Vertical and horizontal balancing is the main factor that’ll determine how long you want to go for. Horizontal balance is best kept by turning the handlebars or kicking out your foot in the direction you want to go. Remember to never overdo it, as slight movements make massive changes.
Vertical balance is done solely through how much pressure you put on the seat and how much you stretch out your arms. Just like horizontal balance, you’ll find it to eventually become second nature. Start off slow, then you’ll be off to the races before you know it!
Step 4: How to Land a Wheelie
Landing a wheelie is definitely the easiest part of all. In fact, you might even feel like it’s the easiest landing out of any bike stunt you pull off. However, there are a couple of tips that’ll hopefully prevent you from falling over or ruining the trick altogether.
1. Whatever you do, don’t try to hit the brakes right away. Some people automatically think that the trick is done once they’re moving for a while, but this is absolutely not the case. Stopping too early can throw you right off of your bike, so stay seated and cruising until you’re fully done transitioning. Feel free to either continue pedaling or just let your momentum keep you going when you’ve landed.
2. Don’t slam down too hard or stop abruptly. You can easily overcompensate for the landing and lean right over the handlebars. Let the front wheel naturally drop to the ground and it’ll take its own course.
Congratulations on landing your first wheelie! Follow these four simple steps and you’ll it’ll be a breeze before you know it.
REFERENCES:
If you liked the article, please leave your feedback.


